Simulation Modes
Prerequisite: Basic Usage
In this tutorial, we will explore key simulation parameter settings. This tutorial builds on the configuration file used in the Basic Usage.
Rendering Options
You can adjust the rendering settings by modifying the following parameters (see simulation for more details).
Basically, rendering_mode can be set to Screen, Terminal, or None. All of the previous tutorials, we used Screen mode.
In Screen mode, additional rendering options can be enabled, such as:

Figure1: Simulation Screen Example |
simulation:
  sampling_freq: 1.0
  ....
  rendering_mode: Screen
  rendering_options:
    agent_tail: True
    agent_communication_topology: True
    agent_situation_awareness_circle: False
    agent_id: True
    agent_work_done: True
    agent_assigned_task_id: True
    agent_path_to_assigned_tasks: True
    task_id: False
|
In the above example, the agent_situation_awareness_circle option was not enabled. You can see how the screen is rendered when this option is activated in Changing Agent Local-Sensing Capabilities.
Warning
Enabling too many rendering options can place a heavy load on visualization rendering.
When rendering_mode is set to Terminal or None, the terminal output will appear as follows. This mode is useful when you only need result files (e.g., for Monte Carlo testing purposes, see more details in Conducting Monte Carlo Tests).

Figure 2: |
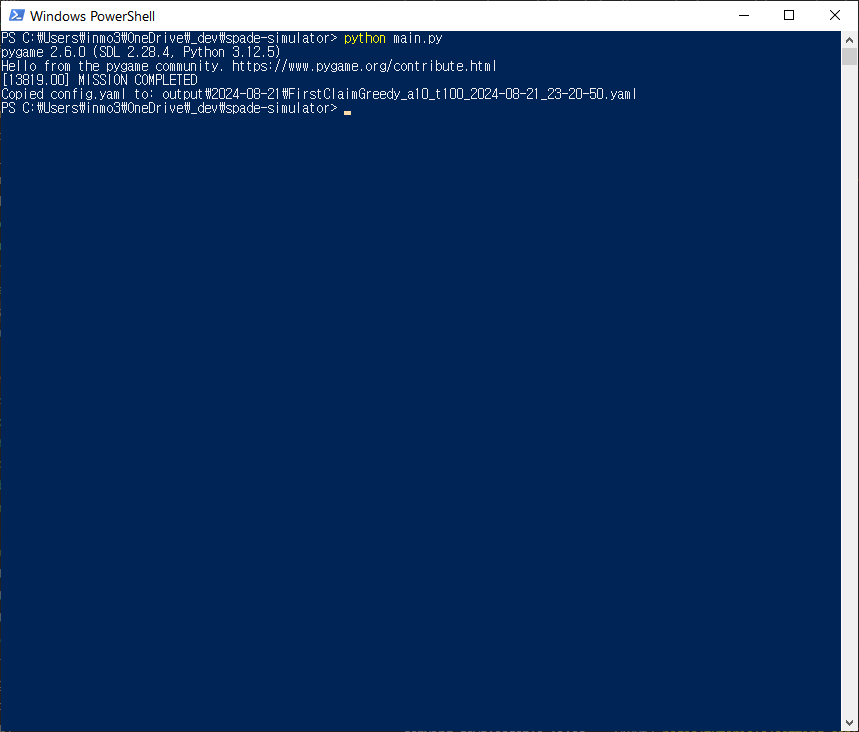
Figure 3: |
Profiling Mode
If you want to optimize computation during algorithm development, you can enable profiling_mode by setting it to True.
simulation:
  profiling_mode: True
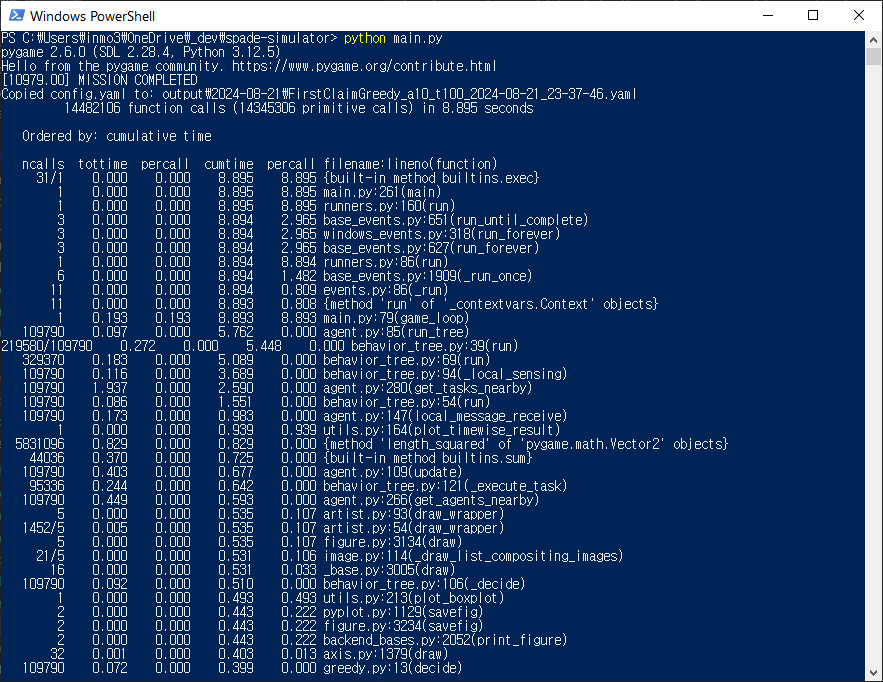
Figure 4: profiling_mode: True
By analyzing the output, you can evaluate the time consumed by each function. This feature is particularly useful when developing a custom decision-making plugin, allowing you to utilize it for optimization purposes.